Have you seen the different kinds of covered button craft kits we have at the shop? While not for sewing onto clothing, these covered buttons are a great way to carry a bit of your favorite fabrics around with you. We have bookmark kits in three metal finishes – antique brass, gunmetal, and silver, as well as barrette kits and push pin kits. The kits do not come with instructions, so we’ve provided a tutorial here for you using the bookmark hardware kit.
Covered Button Bookmark Tutorial
Supplies:
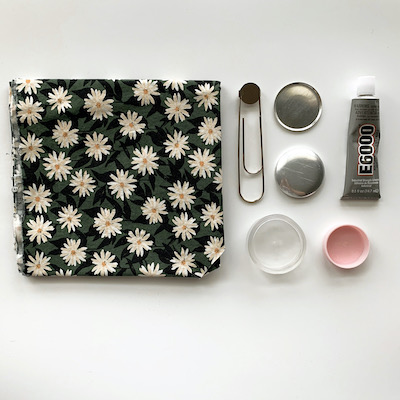
- Bookmark hardware kit
- Button cover tool (the clear and pink round plastic pieces)
- E6000
- Small scrap of fabric (quilting or other light to medium weight cottons work well)
-
Step 1:
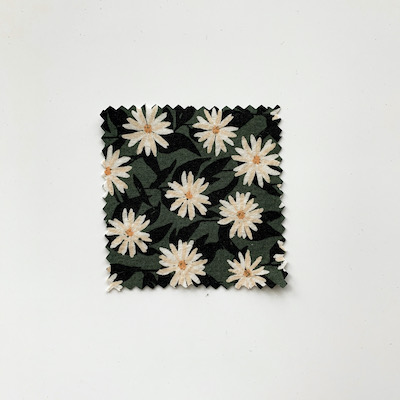
From your scrap of fabric, cut a square approx. 3″ x 3″. If you like a particular motif in your fabric, then it’s important to center that when cutting your square.
If your fabric is sheer or very lightweight, you may need to line it with something. I did not line this quilting cotton, but when using Liberty Tana Lawn, I will often use a solid lawn or voile to back it. On the other hand, if your fabric is too thick, the button might not “snap” together.
Step 2:
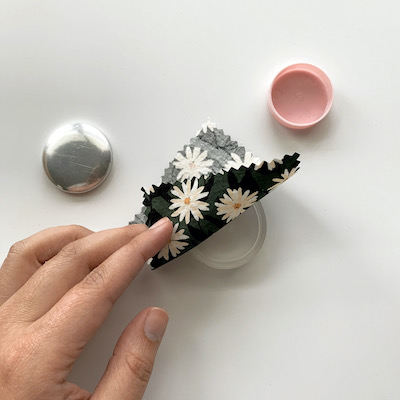
Assemble the covered button. Place your square of fabric, face down, into the hollow of the larger part of the covered button tool. Try to make sure it is as centered as possible. Then place the outer part of the covered button (curved side down) on top of the fabric, pushing it into the tool.
Flip the tool over so that you can get a preview of your finished button. If the design is off-center or not the way you want it, then pop it out and try again. (You won’t be able to re-do it once the button is assembled!)
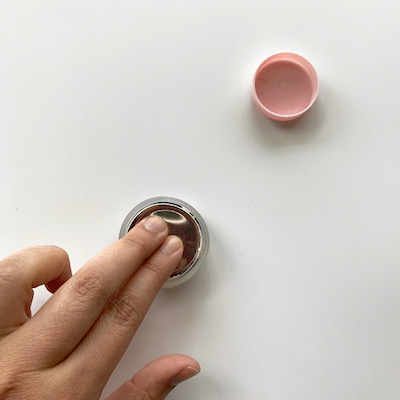

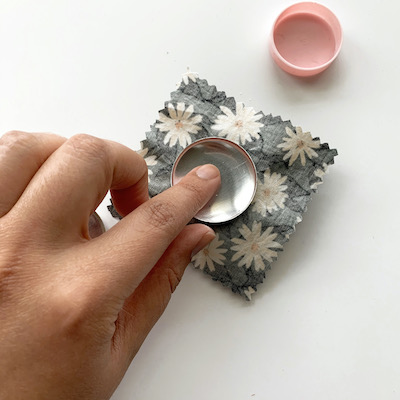
Use your fingers to press the free edges of the fabric down into the tool. Then take the back of the covered button (the flat metal piece) and push it into the center of the tool. (NOTE: to make this button extra secure, you may want to place a little bit of E6000 in between the two halves of the button.).
You have now made a little covered button sandwich, trapping the free edges inside the two halves of the covered button. Use the pink part of the covered button tool to really squeeze and secure the button. You will feel the back “pop” into place.
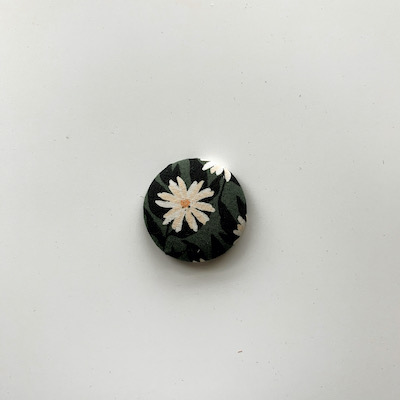
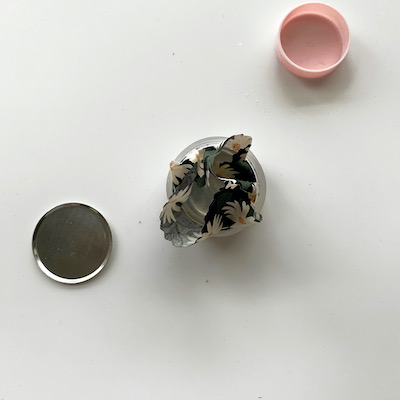
When everything is assembled, simply pop the button out of the tool.
Step 3:
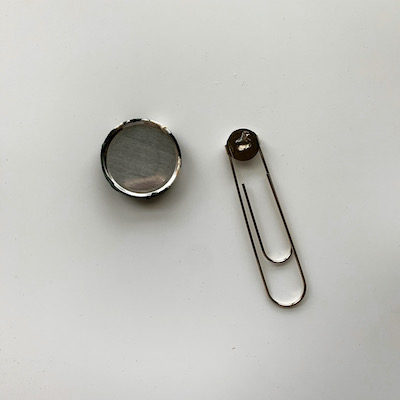
Place a small dab of E6000 on the flat disc of the bookmark (or push pin or barrette, whichever hardware you are using).
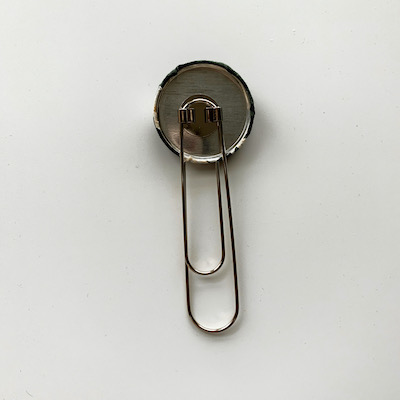
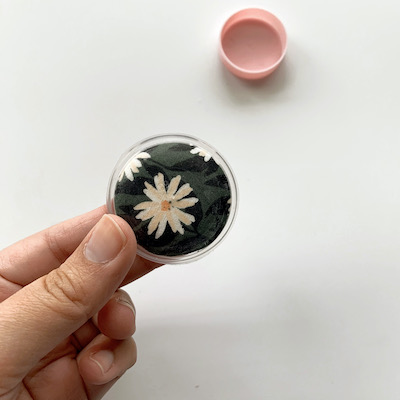
Carefully center this disc onto the back of the covered button, pressing the pieces together to ensure good contact. If you’re picky about placement, make sure you flip it over and check that your print doesn’t end up upside down!
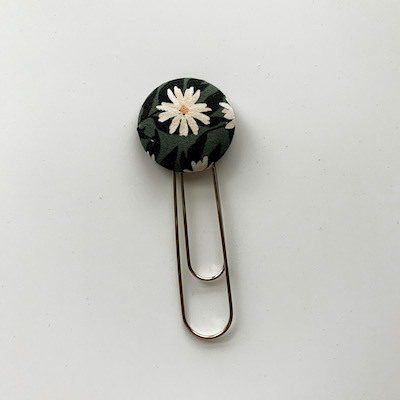
Let dry – instructions suggest 24 hours to cure – and you’re done!
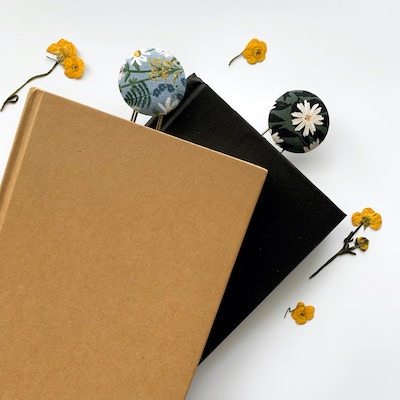
The idea is the same for the other kits, but please drop a question below if you have any. As always, we’d love to see your finished projects! Tag us on Instagram (@stitchsewshop) or use the hashtag #sewwithstitch.