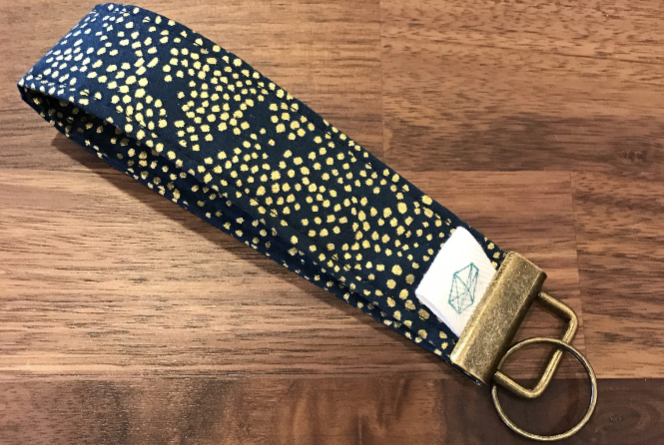
We know you tend to be doing all of the things all of the time, just like we are. When you’ve got your hands full, this Key Fob Wristlet really comes in handy (see what I did there?).
This is a quick and satisfying project, and makes a great gift. We hope you enjoy making and using it…happy sewing!
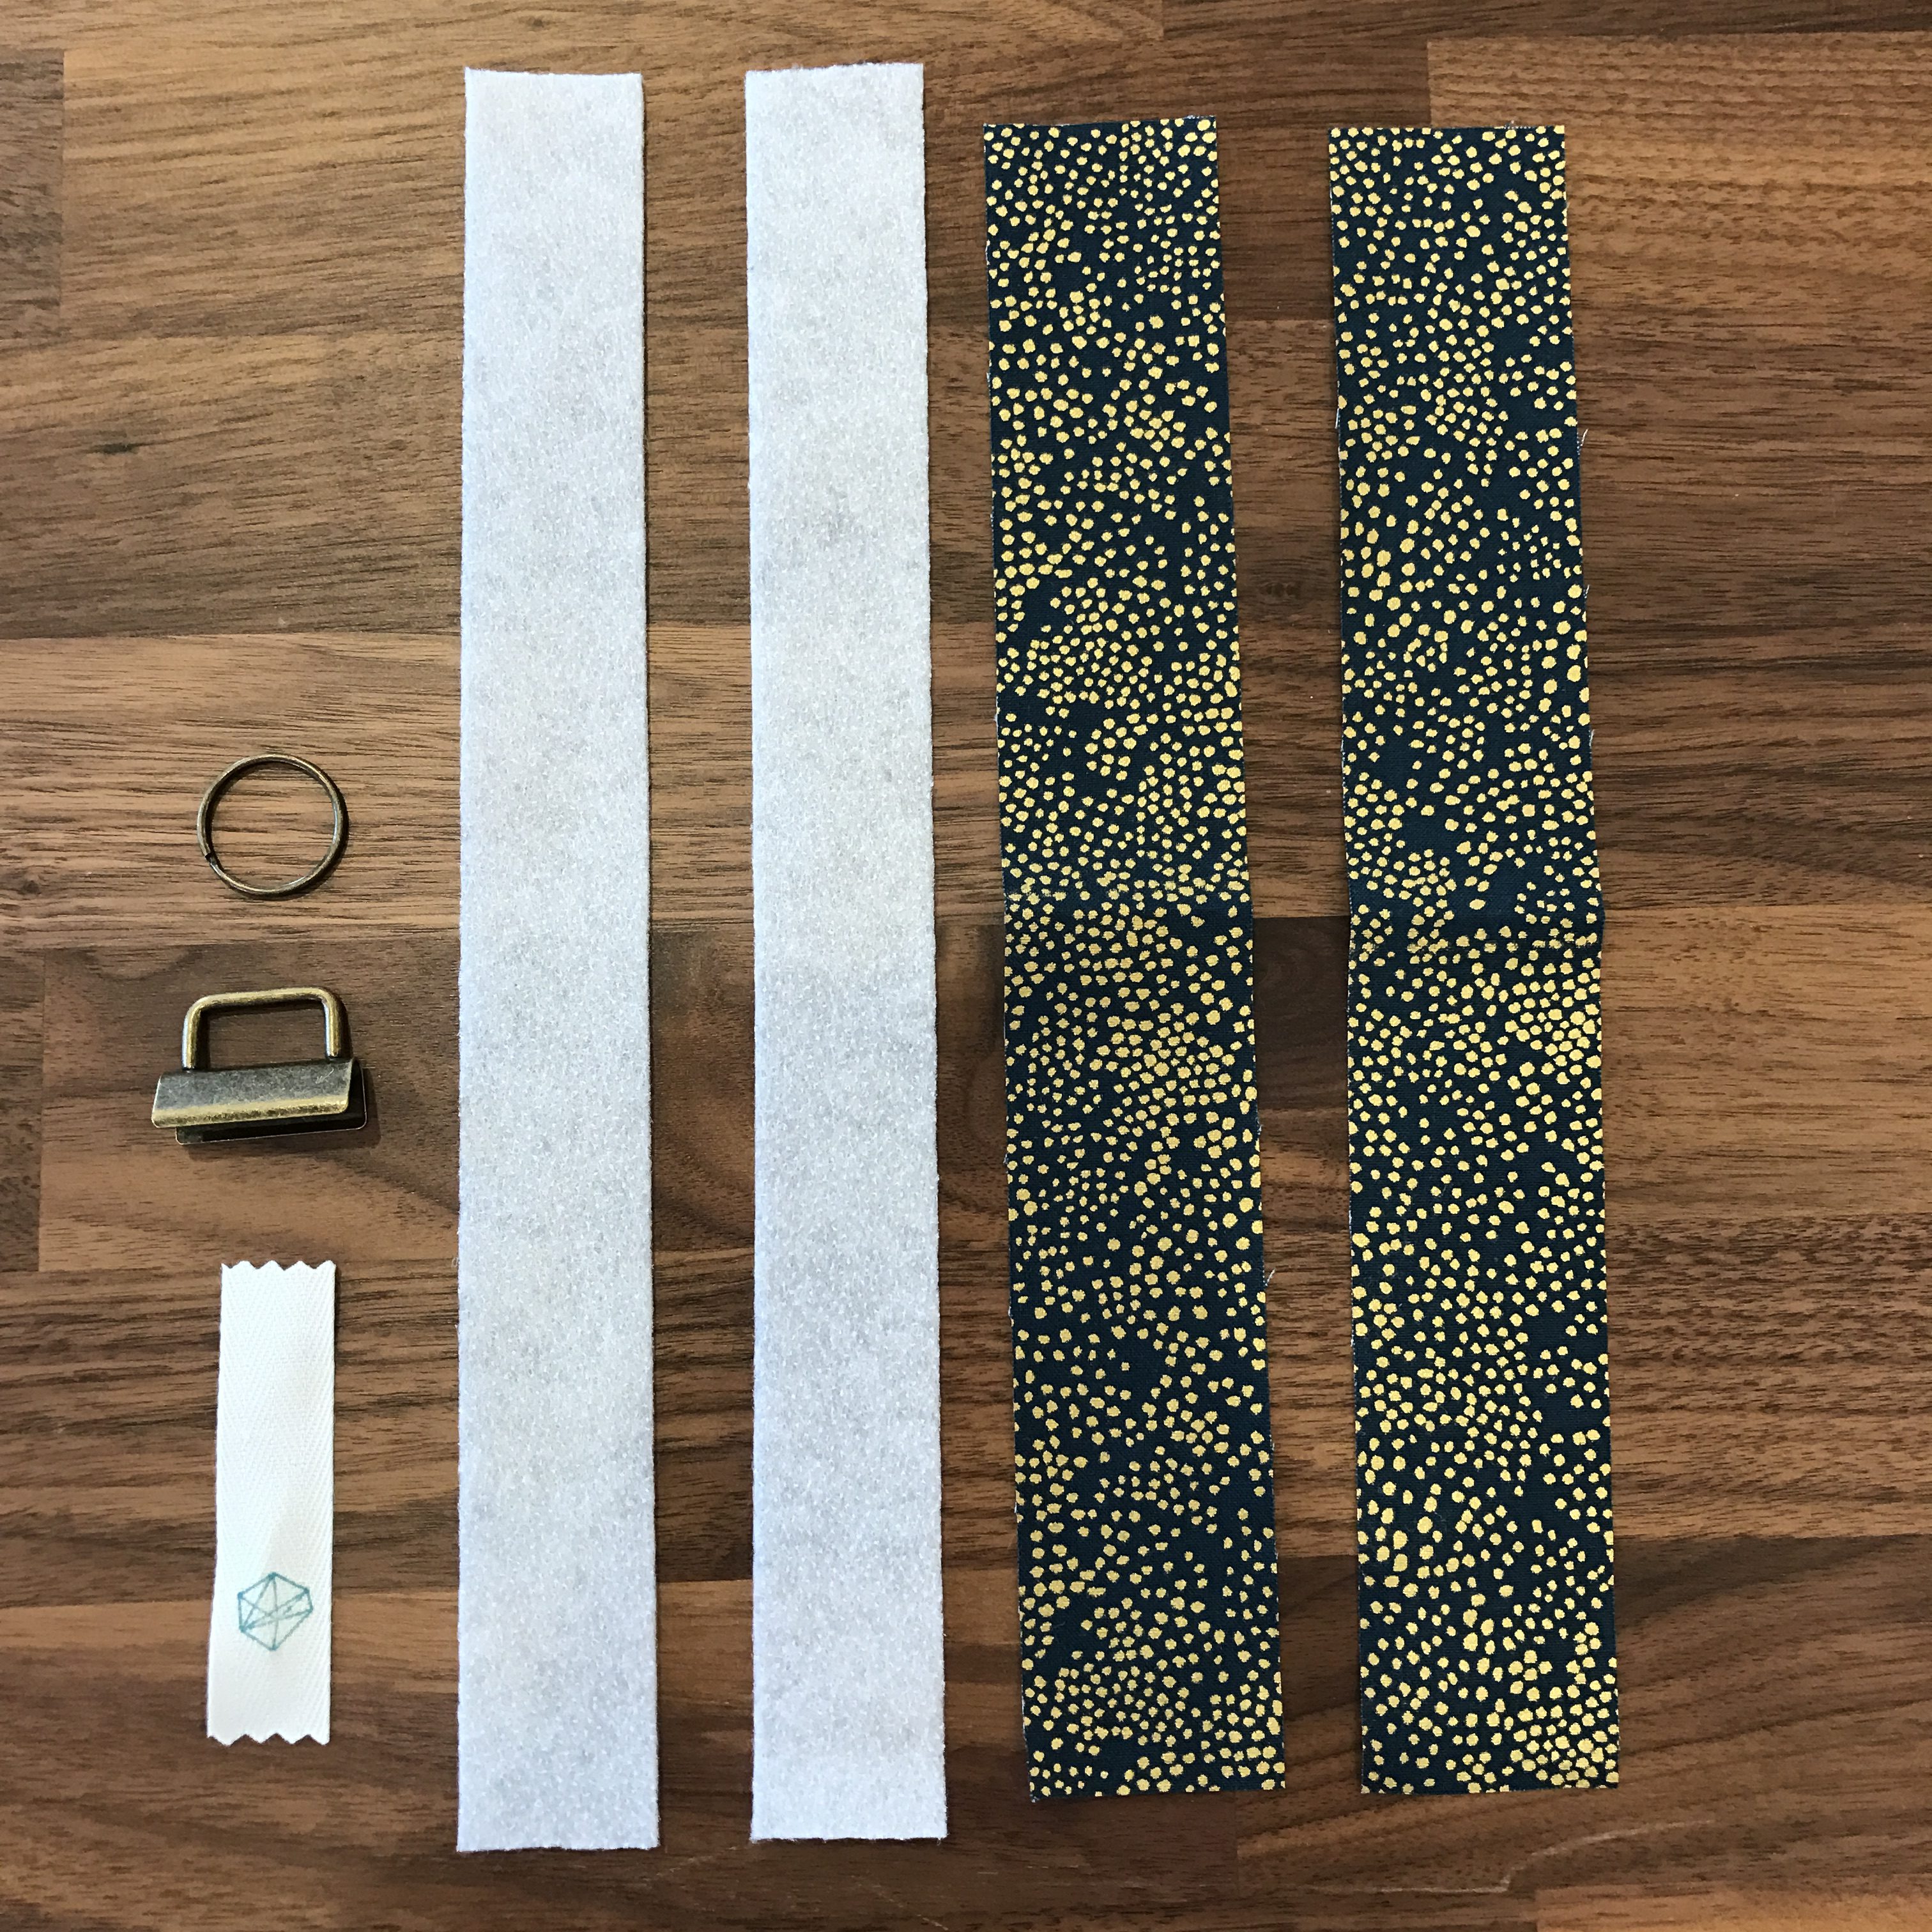
Kit includes:
- Two strips of fabric, cut 1.75″ x 11.75″
- One strip of fusible fleece, cut 1.25″ x 23.5″
- Key fob hardware, 1.25″ size
- Key ring
- Stitch Sew Shop Tag
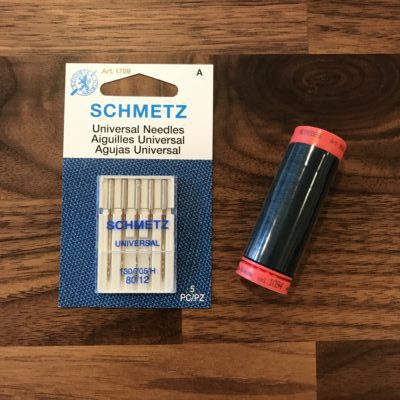
- Universal Needle, size 80/12
- Coordinating Thread
Sewing Instructions:
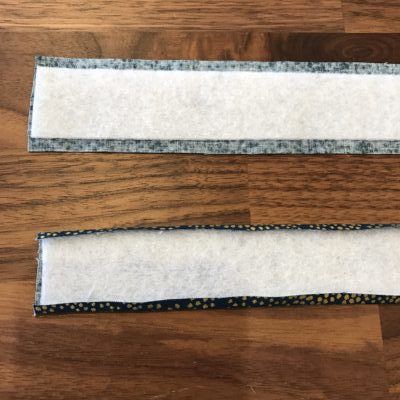
Step 1: Cut the fusible fleece into two equal strips. Center the fleece onto the wrong side of each of the strips of fabric. Making sure the glue side is facing the fabric, fuse the fleece to the fabric.
There should be 1/4″ inch of fabric extending past the fleece on each long edge. Fold those edges up over the fusible fleece and press with the iron.
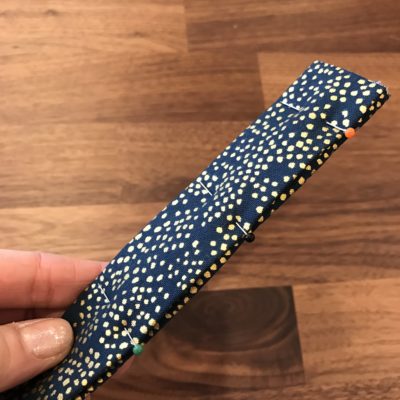
Step 2: Pin the two strips of fabric wrong sides together so that the folded edges line up. The two layers of fleece will be sandwiched in the middle.
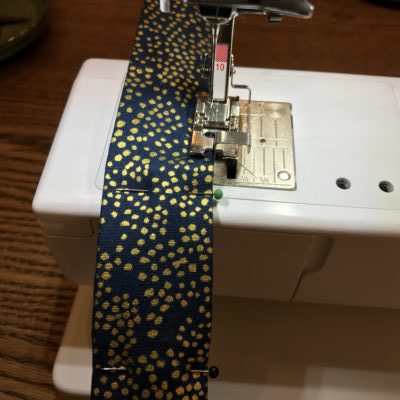
Step 3: Topstitch 1/8″ away from each long edge of the fabric, making sure to catch both layers. An edgestitch foot is useful to maintain a straight line of stitching.
Tip: Sew both edges in the same direction to avoid twisting of the strip. If twisting does occur, a good hot press with a steamy iron will help flatten the strip again.
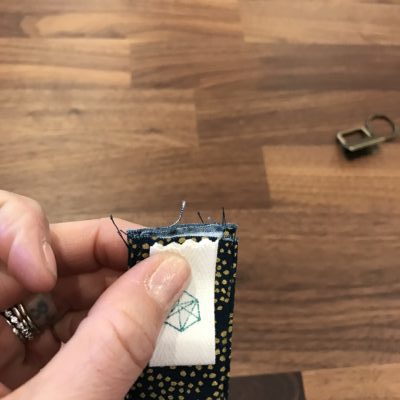
Step 4: Fold the strip of fabric in half, matching the raw edges. Fold the Stitch tag in half also matching the raw edges, and centering the tag on the fabric loop, and the logo facing up. Baste these layers together with 1/4″ seam allowance.
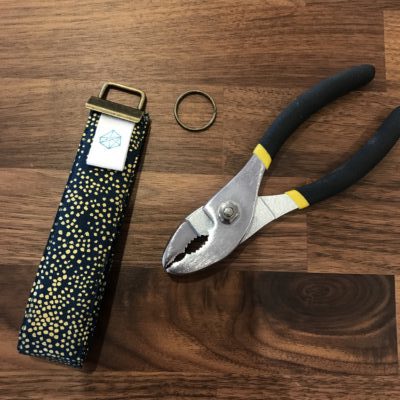
For the next step you will need a pair of pliers and a scrap of felt or soft, thick fabric.
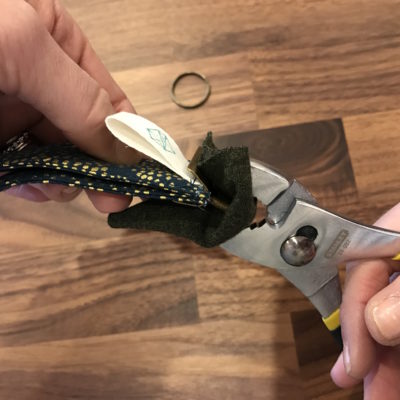
Step 5: Center the key fob hardware over the raw edges of fabric that you just basted. Using the felt or fabric scrap to protect the metal hardware, squeeze the key fob clasp together, clamping the fabric between the two metal pieces.
Tip: It is important to use the fabric scrap to protect the metal hardware. Without it you will get little dimples in your hardware from the teeth of the pliers.
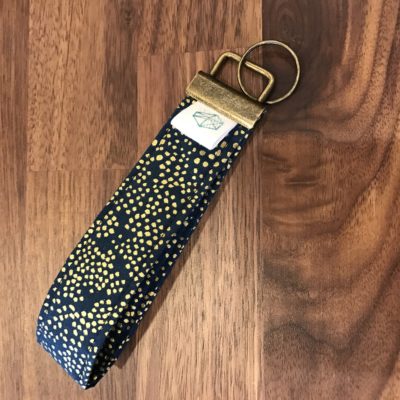
Step 6: Thread the key ring onto the key fob, and you are finished! Now, go make one for everyone you know.
Happiest holiday wishes from all of us at Stitch Sew Shop!
xoxo